The first 24 to 48 hours after a windshield replacement are more important than most drivers realize. The adhesive that holds that big pane of laminated glass to your vehicle body needs time, stillness, and the right conditions to cure to full strength. Treat those first days casually, and you can invite leaks, wind noise, stress cracks, or a glass panel that never quite sits right. Handle them well, and your windshield will perform like factory glass, sealing out weather, staying quiet, and protecting you in a crash.
I have replaced hundreds of windshields in shops, in driveways, and in company fleet yards. The pattern is consistent. Great materials and clean preparation matter, but what the driver does after a windshield replacement often determines whether the job lasts ten years or ten weeks. Below are the techniques I teach customers and team members, plus the small habits that keep a new windshield looking new.
What your installer did, and what that means for you
On a proper Auto Glass Replacement, an experienced technician does a dry fit, cuts out the old glass, cleans down to the factory pinch weld, treats any scratches with primer, lays a fresh bead of urethane, then sets the new glass in one smooth motion. That last part is a choreography of speed and accuracy. Modern urethanes are engineered to meet Federal Motor Vehicle Safety Standard 212, which governs windshield retention. They rely on a chemical cure that is sensitive to time, temperature, humidity, and compression.
When you drive away or the mobile tech packs up, the adhesive is not at full strength. Safe drive-away time can be as little as 30 minutes with warm weather and a high-performance urethane, or several hours in the cold. Your installer should give you a safe drive-away window. If they did not, you can assume two hours in summer and four hours in winter, and be conservative. The glass is held in place by suction and set blocks, but a big door slam, a wash bay blast, or a hard pothole hit during this period can disturb the bead, which later shows up as a whistle or a wet carpet after rain.
The first day: small precautions with big payoffs
I tell customers to baby the car for the first day. Not because the glass is fragile, but because the urethane is settling. When we pull the protective tape across the top edge, it is not a fashion statement. That tape helps keep dust off the bead and prevents the glass from shifting while the adhesive skins over and cures deeper. Leave the tape in place until the next day. It might look odd for a short commute, but removing it early invites grit and pollen into a sticky seam.
Avoid slamming doors. The cabin in most cars is fairly airtight, especially with newer door seals. A hard slam can spike cabin pressure and push outward on the fresh bead, nudging the glass a millimeter where you cannot see it. You can crack a brand-new windshield this way, especially near the corners where stress concentrates. When I replace windshields on delivery vans, I’ll leave a note on the steering wheel asking drivers to close doors gently for a day. It saves everyone headaches.
Crack the windows. Just an inch, front and rear. This relieves pressure when you shut doors and helps the interior humidity equalize, which supports a consistent cure. If you park in a safe place, leave the crack all day and overnight. If not, at least while you drive.
Skip the wash. Tunnel car washes blast water and air directly at the moldings and the glass perimeter. Those jets can lift a corner or push water into the cowl while the urethane is still green. Hand washing with a gentle stream is fine after 24 hours. Tunnel washes can wait 48 hours.
Be gentle with the wipers. Most shops replace or reset the wipers as part of the job. Let them sit for a day. If it rains, use the lowest speed you can, and do not operate wipers on a dry glass. Modern wipers can chatter and grab, which is not ideal when the bead is curing.
The second to seventh day: stress, weather, and reality
Once the urethane reaches handling strength, you can resume normal driving, but I advise a few modest restrictions for the first week. These are not about the glass sheet itself, which is strong, but about stabilizing the bond line. I avoid aggressive off-road trails or speed bumps taken too fast, and I ask owners to delay roof rack installations or windshield-mounted accessories.
Temperature swings can be rough on a new windshield. Park in the shade if you can, and avoid blasting the defroster on high heat onto a cold glass. The inner layer heats faster than the outer sheet, creating differential expansion. That can aggravate small chips or edge stress. If you need the defroster, ramp it up gradually. In winter, consider a windshield cover to limit the morning shock of ice scrape plus hot air.
Rain is fine. In fact, humidity helps urethane cure. Torrential rain plus highway speeds within the first 24 hours, though, can test the seals with high-pressure water. If you must drive, keep to moderate speeds that first day.
Cleaning a brand-new windshield without harming the bond
After a replacement, the glass surface is clean but often has a faint residue from the protective film used during shipping. You will see that haze at night under street lights or when the sun hits at an angle. A simple glass cleaner works, but avoid ammonia-heavy products for the first week. They can streak, and some tint films on upper sunshade bands do not like ammonia. Instead, use an alcohol-based glass cleaner or a mix of distilled water and a dash of isopropyl alcohol. Spray onto a microfiber towel, not directly onto the upper edge where the bead is, so you do not saturate the perimeter.
Do not use razor blades on the new glass. It sounds obvious, but I have seen drivers scrape a sticker and nick the laminated layer or scratch the surface. If you must remove inspection decals, warm them with a hair dryer and peel slowly. Any stubborn adhesive can be lifted with a citrus-based adhesive remover applied to a towel, kept away from the edges.
The outer moldings and trims need only a gentle wipe. Avoid silicone dressings in the first week. If a molding is not lying flat after a day, do not force it with products. Call your Auto Glass Repair shop to have it checked; sometimes a clip needs reseating.
Calibrating modern driver assistance systems
Many vehicles now use a forward-facing camera mounted near the top center of the windshield to power lane keeping, automatic emergency braking, and traffic sign recognition. When you perform a Windshield Replacement on these cars, you are not just replacing glass, you are changing the mount the camera looks through. That can require a dynamic or static calibration, sometimes both, depending on the manufacturer.
Shops that specialize in Auto Glass Replacement often invest in calibration targets and the OEM software or approved aftermarket tools. You might see your car positioned in a measured bay with targets placed at specific distances and heights. Or the technician may take your car for a road calibration drive that follows a prescribed route, speed, and line markings. Ask your shop how they handle ADAS calibration before the appointment. If they subcontract it, you should still leave with a printout or a digital report showing a pass. Skipping calibration can cause the warning lights to come on, but worse, it can leave safety systems operating out of spec without obvious signs.
Edge case to note: some models require a windshield that meets optical quality and bracket alignment tolerances that generic glass does not always match. That does not mean you must buy OEM-branded glass, but it does mean you should source glass from a supplier that certifies ADAS compatibility. Cheap glass with waves or misaligned brackets can be calibrated, but the camera may struggle in bright sun or heavy rain. You will feel it as a lane-keeping system that ping-pongs more than it should.
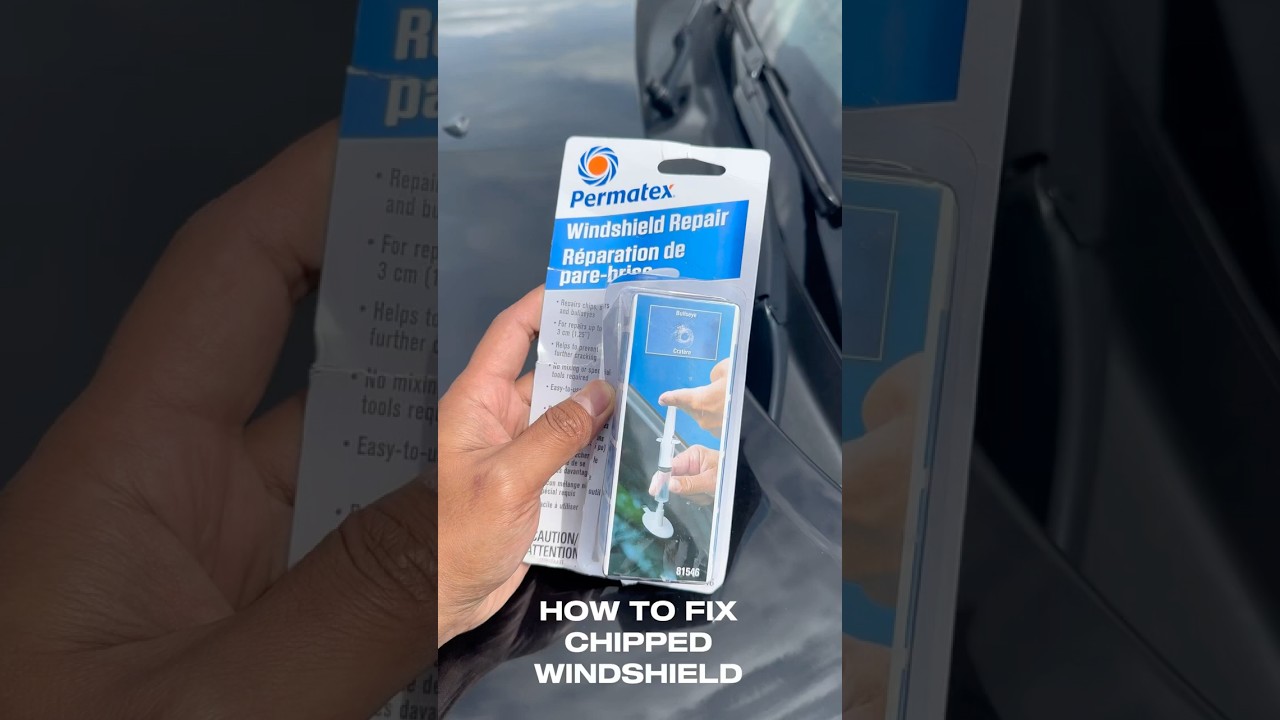
Dealing with chips on a new windshield
It happens. You drive out of the shop and a dump truck spits a pebble at your brand-new glass. If you see a star break smaller than a quarter and not in the driver’s direct line of sight, call for Windshield Chip Repair as soon as possible, same day if you can. Fresh chips repair better than older ones because they are cleaner and have not collected moisture or dust. A good repair can restore strength and stop cracks from running. In many states, insurance will waive the deductible for chip repairs.
There are limits. If the impact point is at the very edge where the urethane bead sits, repair is risky. A crack that reaches the edge can travel under the molding and along the bond line. In that case, replacement may be safer. Also, a bull’s-eye or star that lies directly in the driver’s critical viewing area may be repairable structurally, but it can leave a faint mark that distracts. For professional drivers or long commuters, I recommend replacement if the blemish catches your eye during a test drive.
If you go for chip repair, make sure the technician uses a bridge and resin appropriate for the break type, and that they cure under a proper UV lamp. Avoid DIY kits on brand-new glass if you are not confident. A botched repair can trap air and make a future replacement more likely.
Leaks, noises, and how to respond
Even with sound technique, occasional issues surface. The two most common callbacks after a windshield replacement are water leaks and wind noise. Both are solvable.
A water leak tends to show up at the upper corners or along the A-pillars after a heavy rain or a car wash. You might see dampness on the headliner edge or feel a drip on your knees near the dash. That leak path often comes from a void in the urethane bead or from a misseated molding that channeled water inward. Do not ignore it. Water under the dash can corrode connectors and airbag modules. The fix typically involves removing the molding, drying, and injecting fresh urethane, or in some cases, cutting out and resetting the glass. Reputable shops warranty their work, so call them promptly.
Wind noise presents as a whistle at 45 to 60 mph, rising with speed. It usually comes from a small gap between the glass and the body or a misaligned cowl panel. A quick test: tape over suspected gaps with painter’s tape and drive. If the noise disappears, you have the location. The fix can be as simple as reseating a cowl clip or adding a small urethane fillet along the edge.
Do not accept silicone caulk as a fix for a structural seal. I have seen too many windshields smeared with hardware-store silicone. It looks temporary because it is. Silicone does not bond to urethane properly, and it complicates a future professional reseal.
Myths about curing and care
I often hear myths recycled at job sites and in waiting rooms, some harmless, some costly.
One, you must not drive the car at all for 24 hours. That might have been true decades ago with older adhesives. Modern high-modulus urethanes reach safe drive-away strength much faster when applied and primed correctly. You still need to respect the recommended time window your installer gives, but total immobilization is not required in most climates.
Two, you should remove the retention tape right away to avoid residue. Leave it on. Any mild tape residue wipes off with glass cleaner later. The tape helps keep the glass from walking while the bead is still soft.
Three, you can use any suction-cup mount for dash cams or GPS the same day. Avoid suction mounts for a week, especially near the top where the frit band sits over the bead. Suction cups pull constantly on a small area of glass, and on hot days that point load can stress the edge. If you need a camera, mount it temporarily with a low-tack adhesive pad farther from the edges.
Four, tinting should be done immediately. Window tinters often prefer to wait 48 to 72 hours to keep moisture and chemicals away from the bond line. The upper sunshade tint band on windshields is a thin film that requires careful squeegeeing. It is better to tint after the urethane has hardened.
Interior care and odor after replacement
You might notice a faint chemical smell in the cabin after a Windshield Replacement. That is normal and comes from solvents in the primer and the urethane as they off-gas during cure. It fades within a day or two. Ventilate by cracking windows and, if parked, open doors for a few minutes. Avoid powerful interior cleaners near the A-pillars for a week. If the smell persists beyond a week, check that no primer overspray hit the interior. A light wipe with isopropyl alcohol on a cloth typically removes it.
If the headliner was lowered during the job, inspect the edges. A good installer will mask and protect the fabric. If you see smudges, call the shop right away. The sooner you address it, the easier it is to clean with the right upholstery cleaner. Waiting gives the stain time to set.
When replacement beats repair, and how to choose wisely
The old rule of thumb used to be coin-sized chips can be repaired, larger ones mean replacement. The real rule is more nuanced. A crack that originates at the edge is more dangerous because it follows the stress line and can undermine the bond. Multiple close impacts in the driver’s field may pass a structural test but fail a practical one because they distract. Also, once a crack passes six inches and keeps growing after temperature swings, it is time to replace.
When you do need a new windshield, the choice is not simply OEM or aftermarket. What matters is fit, optic quality, and correct hardware. Some aftermarket glass is every bit as good as OEM, especially when manufactured by the same global suppliers. What you want is the correct acoustic interlayer if your car came with it, the right shade band, the mounted brackets for windshield replacement Apex cameras and sensors, and any condensation or rain sensor pads. Skimping here often shows up as odd camera behavior or a tinny cabin sound at highway speed.
For Auto Glass Repair or replacement, look for installers who handle calibration in-house or have a tight relationship with a calibration shop, who use high-modulus, non-conductive urethane compatible with your vehicle’s body electronics, and who prime any scratches in the pinch weld. Ask whether they clean and reattach the cowl correctly and whether they replace one-time-use clips. Good answers indicate a professional operation, not just a glass swap.
A simple care routine that keeps the view clear
After the first week, normal care rules take over. Keep the windshield clean with a quality glass cleaner and microfiber towels. Replace wiper blades at least twice a year, or more often in sandy or snowy regions. Contaminants on the road can scrape arcs into new glass quickly. When you fill up on fuel, take 30 seconds to wipe the wiper edges with a damp paper towel. It removes grit and sap that cause chatter.
If you drive behind trucks in construction zones, build a small buffer. Even one extra car length reduces the odds of catching a stone. On highways after winter, the road shoulders collect gravel that gets kicked up by traffic. Move one lane over when safe. These are small habits, but they add up.
For persistent film that does not come off with cleaner, a fine-grade glass polish works. Use it sparingly and follow with a thorough clean. I apply a hydrophobic coating on my own vehicles twice a year. It improves wet visibility, reduces wiper use, and makes bug removal easier. If you apply such a coating, keep it away from the black frit edge and the moldings. Some coatings can creep and leave a haze line if over-applied.
The quiet signs of a good job
When a windshield is installed properly and cared for thoughtfully, there is very little drama. The steering wheel does not buzz at speed. The lane camera reads lines without arguing. The rearview mirror sits tight. There is no faint musty smell after rain. The top trim lies straight like a taut string from A-pillar to A-pillar. You do not think about the windshield for years, which is the whole point.
Anecdotally, I have one fleet client with a dozen vans that run city routes. We tracked failures and callbacks over three years. Vans that followed the first-week care steps had 60 to 70 percent fewer leak or noise callbacks than those that did not, and they showed fewer stress cracks over the first winter after replacement. Nothing exotic, just tape left in place overnight, gentle door closures, cracked windows, no tunnel wash for two days, and prompt chip repair. Low-cost habits, high return.
A short, practical checklist for the first 48 hours
- Leave the retention tape on until the next day, and avoid touching the moldings. Close doors gently, and crack windows an inch to relieve cabin pressure. Skip tunnel car washes for 48 hours, and avoid high-pressure spray at the edges. Keep wipers off if possible, and avoid suction-cup mounts on the glass. Drive normally after the safe drive-away time, but steer clear of rough roads if you can.
When to call the shop
If you notice any of the following after your Auto Glass Replacement, reach out promptly. A quick fix today prevents a bigger problem later.
- Water intrusion at the top corners, A-pillars, or dash after rain or a wash. A whistle or whoosh that tracks with speed and was not present before. Mirror, camera, or sensor warnings, or ADAS behavior that feels different. Moldings that will not sit flush after 24 hours or gaps you can see. Any crack that starts at the edge or a chip that spreads despite stable temperatures.
Caring for a new windshield is not complicated, and it is not about babying your car forever. It is about understanding that for one or two days, chemical bonds are forming that will determine how well the glass protects you, keeps water out, and stays quiet. A bit of patience upfront, an eye for early warning signs, and a habit of quick Windshield Chip Repair when needed will stretch the life of your Windshield Replacement and keep your view crisp through seasons and miles.